Hi everyone, a few months ago I got a Brother AX-25, and since then, I've been working on turning it into a computer. It uses an Arduino to scan the custom mechanical keyboard and control the typewriter, and a Raspberry Pi is connected to the Arduino over serial so I can log into it in headless mode.
This video goes over the design and assembly of it. There's also a test of the typewriter in action, as well as a sound test at the end of the video.
Inspiration
Back in high school, one of my friends was working on making a computer using a Z80 for a school project. He had it set up on a few breadboards in a briefcase, and after we talked about it for a bit, we decided that we would try to put it in an old typewriter. We wanted to make our own Commodore 64. We gutted an old electronic typewriter, but never got around to putting the computer in it. For the past 6 years, I've had that typewriter's shell sitting in my room.
For a while, I wanted to turn the typewriter into a cyberdeck. I planned on putting a screen in it, and a Raspberry Pi with a hefty battery. I had that idea rolling around in my head until a couple years ago, when I saw CuriousMarc's video about his teletype turned into a Linux terminal. I wanted to do the same to a typewriter, but I never had the time to do it and couldn’t find a typewriter at any thrift stores. After graduating from college, I finally had enough spare time, and knowledge, to turn a typewriter into a computer, so I went to a thrift store and bought the first electronic typewriter I could find.
Functionality
I can use all sorts Linux commands, and by processing the escape sequences that the Raspberry Pi outputs, it can automatically toggle the typewriter’s formatting features. I can also type commands using the typewriter's keyboard.
I've also used it to print some ASCII art, I think the results look pretty great!
Reverse-engineering and Design

The typewriter’s keyboard is wired up in an 8x11 matrix, and it connects to the typewriter using two connectors, one for the rows, and one for the columns. When you press one of the keys, it connects one of the row pins to a column pin, which the typewriter then detects. To figure out which pair of pins each key corresponds to, I connected each pair by hand one at a time, and wrote down what key was printed. I did this until I had the entire matrix mapped out.

The typewriter uses a 7805 linear regulator to power its 5V components, and I was able to locate an unused 5V pad and ground pad that I can tap into to power my circuit. I had to add a heatsink to the regulator to accommodate for the increased power consumption of my circuit.

Interfacing with the Typewriter
The Arduino code is available on my GitHub repository if you’d like to look at it in more detail! My Arduino controls the typewriter using two multiplexers, one connected to each of the keyboard connectors. The multiplexer’s signal pins are connected so they can be used to connect pairs of pins on the keyboard connectors together. To send a key, the Arduino selects a pin on each multiplexer to connect them, which tricks the typewriter into thinking that a key has been pressed.

The Arduino is connected via serial to the Pi, which has the serial console enabled on its UART pins. I chose to use an Arduino in addition to the Raspberry Pi because I’m more familiar with them, and it makes interfacing with the Raspberry Pi’s UART console much easier. The Arduino and the Raspberry Pi communicate at a rate of 120 characters per second, but the typewriter can only type 12 per second. To prevent long messages from getting cut off, I added serial flow control to my code. This allows the Arduino to tell the Pi when to start and stop sending text. The Raspberry Pi is running Raspberry Pi OS Lite, since I only need access to the terminal.
Scanning the Keyboard
To scan the keyboard, I used essentially the same circuit; two multiplexers, one for the rows, one for the columns. The Arduino scans the keyboard one key at a time by selecting a channel on each multiplexer. When it detects that a key has been pressed, it sends that character to the Raspberry Pi so it can be processed.


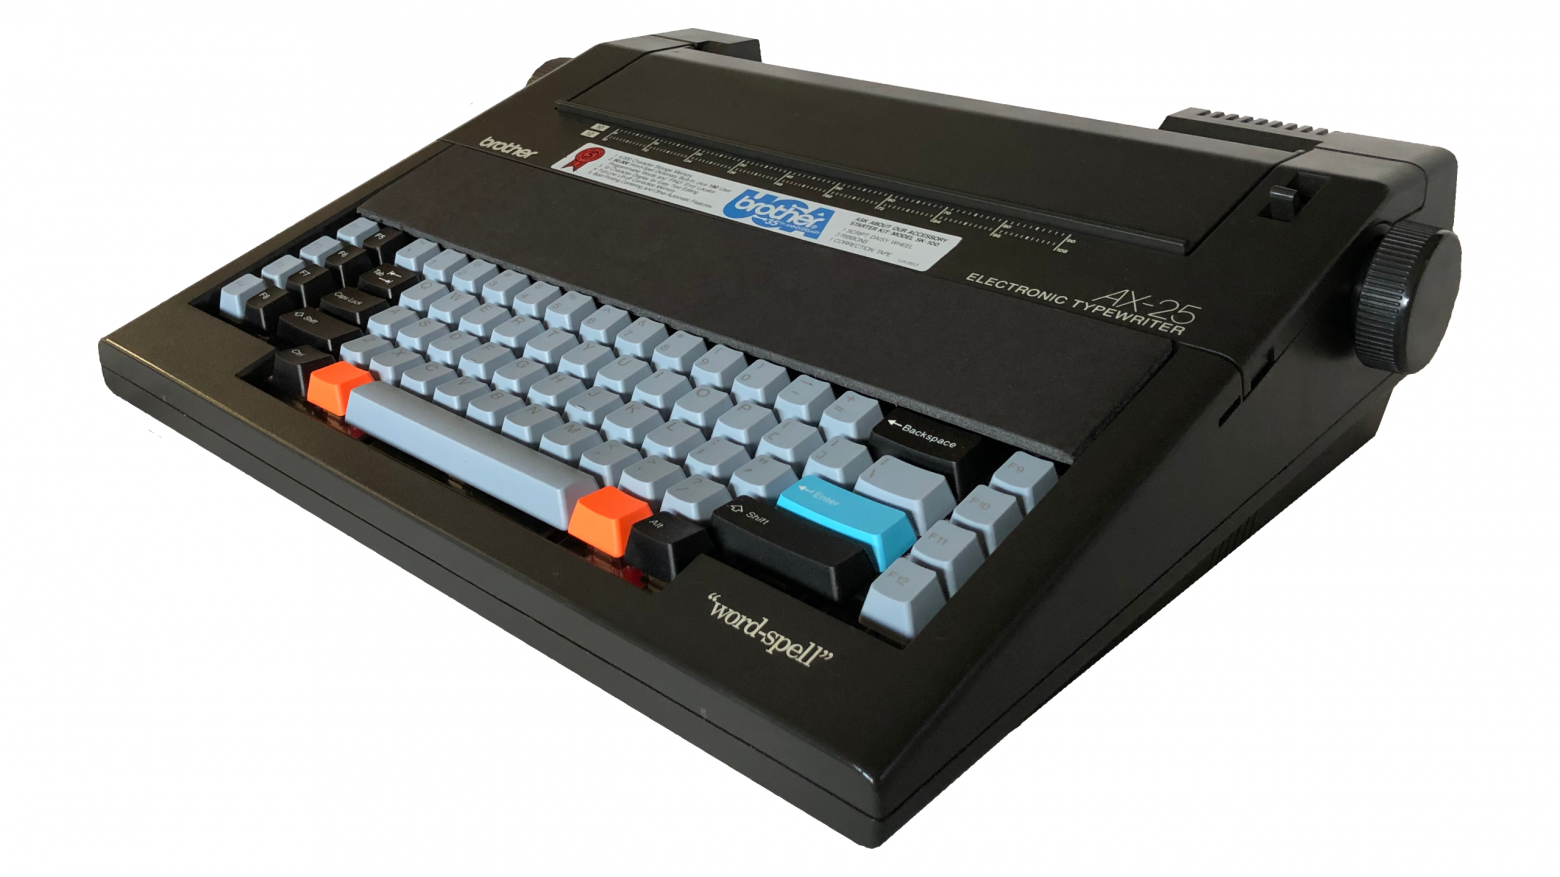
I could have used the typewriter’s original keyboard for this project, but I decided to replace it with a custom mechanical keyboard, with Matias Alps Clicky switches, which feel awesome to type on!
Conclusion
By turning my typewriter into a computer, I was able to recreate the experience of using a teletype. Now I know what it was like to use Unix in the 1960s when it was originally being developed! The custom mechanical keyboard feels amazing to type on, and is a huge upgrade over the mushy membrane keyboard it originally had. With these upgrades, my typewriter is much more powerful now!
