
Programmers, sysadmins, DevOps engineers, and testers are often united by the use of some common technologies. For example, the ability to have remote access to a server would be useful to anyone in the aforementioned anecdotal company. Therefore, in this article, we will cover the basics of working with the SSH protocol at a fundamental level (without generating keys, signatures, moms, dads, and credits). We'll look at 'advanced' usage separately next time. This material was prepared by Max, the author of the YouTube channel PyLounge. Let's go!
Introduction
SSH (Secure SHell) is a network protocol at the application layer, designed for secure remote access to various systems (Linux, Windows, Mac).
This protocol encrypts all information transmitted over the network. By default, it uses port 22. It is mainly used for remote management of user data on a server, running service commands, and working with databases in console mode.
This service was created as a replacement for the unencrypted Telnet and uses cryptographic techniques to ensure that all communication between the server and the user is encrypted.
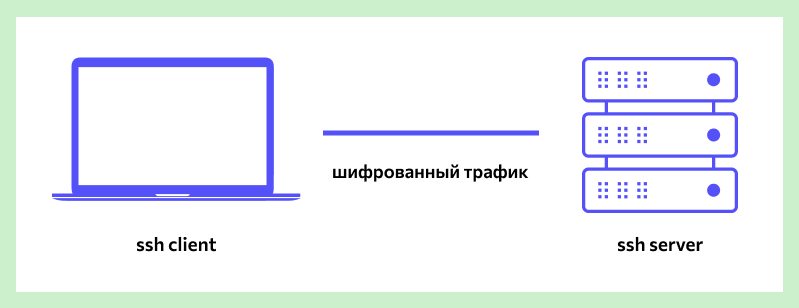
To establish an SSH connection, two components are required: an SSH server and an SSH client. The server listens on a specific port (port 22 by default) and grants access to the user upon successful authentication. All commands used on the SSH client are sent through a secure channel to the SSH server, where they are executed, and the results are sent back to the client.
SSH Server
It is installed on the managed operating system and accepts incoming connections from client machines, verifying the connection in one of the following ways:
By the client's IP address, which is not very secure due to the risk of spoofing;
By the client's public key and username. You need to create a private and a public key. Information encrypted with one key can only be decrypted with the other;
By the client's password, which is transmitted in an encrypted form. This is one of the most common options. It must be entered for each connection.
Paid and free SSH servers are available for all common OSes:
BSD — OpenSSH;
Linux — dropbear, lsh-server, openssh-server;
Windows — freeSSHd, copssh, WinSSHD, OpenSSH, etc.
SSH Client
Used to log in to a remote server and execute commands. The client is used to manage the remote computer.
SSH clients are developed for all OSes. They have paid and free versions:
Linux/BSD — openssh-client, putty, ssh, Vinagre;
Windows — PuTTY, SecureCRT, ShellGuard;
Android — connectBot.
The built-in Windows SSH client, based on OpenSSH, has been pre-installed in the OS since Windows 10 version 1809.
Installing OpenSSH on Ubuntu
Installation using the apt-get package manager:
sudo apt-get install openssh-server
Checking SELinux
Security-Enhanced Linux, or SELinux, is an enhanced access control mechanism built into most modern Linux distributions. It was originally developed by the US National Security Agency to protect computer systems from intruders and hacking. SELinux can also interfere with SSH. Therefore, you need to make sure it is disabled, or disable it.
Install additional tools for working with the network and security settings:
sudo apt-get install policycoreutils
sudo apt-get install net-tools
Check the SELinux status. The state should be disable.
sestatus
Connecting to a virtual machine with a NAT connection type
If the virtual machine uses the NAT network connection type, you must first configure port forwarding. We will forward the host port 2222 (or any free port) to the guest virtual machine's port 22 (the default SSH port).
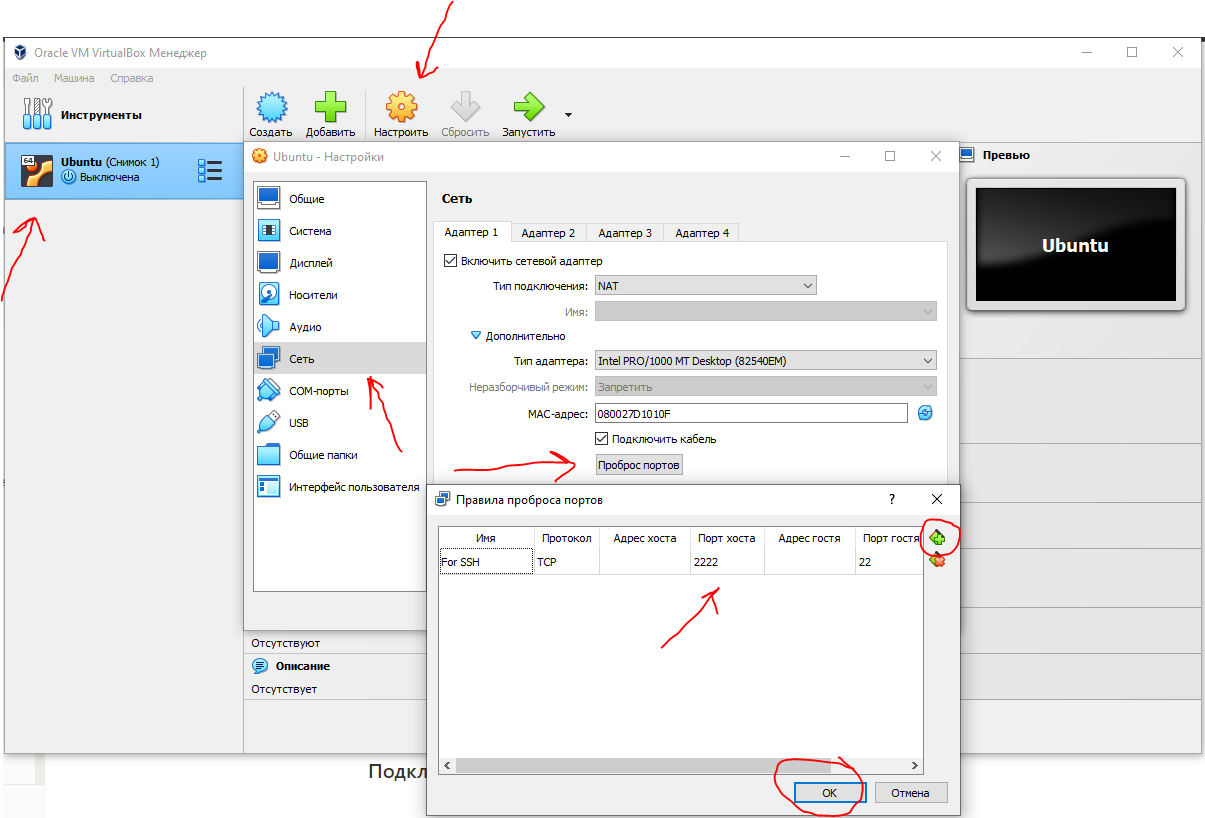
After this, we can connect from Windows to our virtual machine.
Connecting via SSH using PuTTY
Since the virtual machine uses NAT for its network connection, we will specify the loopback address localhost (127.0.0.1) with the port that was assigned for forwarding.

After that, enter the username (the user must exist in Linux!!!) and the password for that user.
Connecting via SSH using the Windows Command Prompt (cmd)
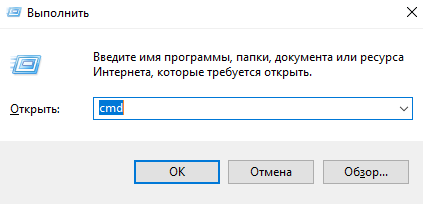
Launch the command prompt with the key combination Win + R. In the window that opens, type cmd. Press OK.
In general, the SSH connection looks like this:
ssh имя_пользователя@ip_адрес_компьютера_к_которому_подключаемся -p порт
If the standard SSH port 22 is used for the connection, the port can be omitted.
In the window that opens, enter the command:
ssh student@127.0.0.1 -p 2222
Enter the user's password. That's it. You are magnificent!
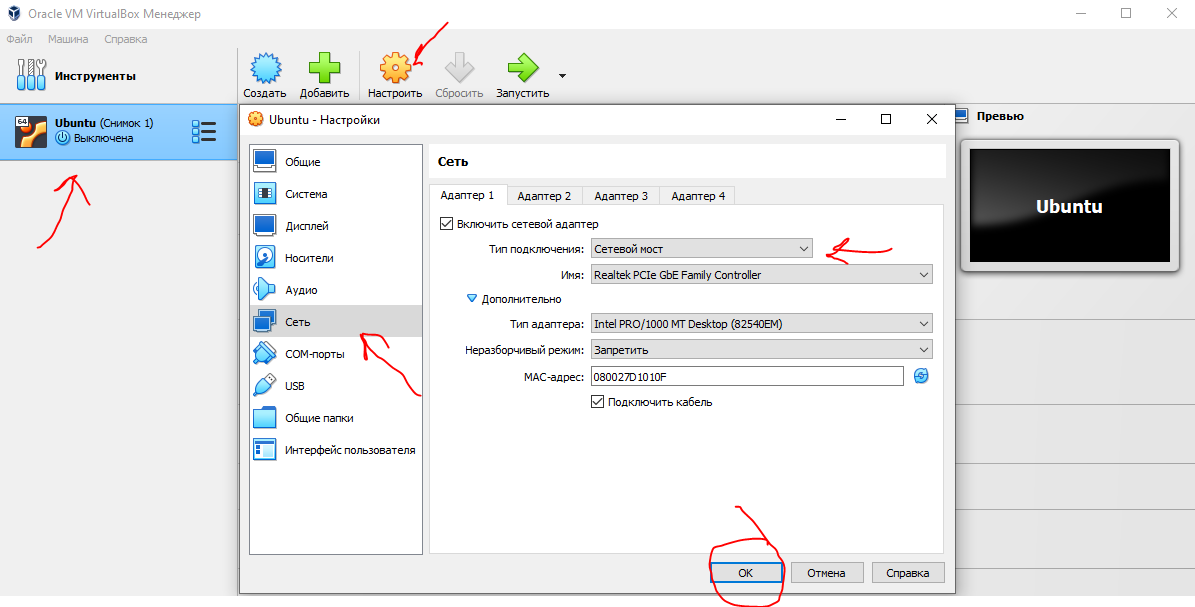
Connecting to a virtual machine with a Bridged Adapter connection type
With the Bridged Adapter connection type, you need to assign a static IP to the Linux system. Further connections will be made using this assigned IP, not through localhost.
Setting a static IP
Starting with the Ubuntu 17.10 release, Netplan is now the default network configuration tool for managing network settings, replacing the /etc/network/interfaces configuration file that was used in previous versions.
The configuration files for Netplan are located in the /etc/netplan directory and are written in the YAML language. In this directory, you will find YAML configuration files.
Let's open the configuration file:
sudo nano /etc/netplan/*.yaml
Let's edit the configuration file:
network:
  version: 2
  renderer: NetworkManager
  ethernets:
      enp0s3:
          dhcp4: false
          addresses: [10.40.0.224/24]
          gateway4: 10.40.0.1
          nameservers:
              addresses: [10.2.0.8, 10.2.0.3]
Here:
ethernets - indicates a wired Ethernet connection;
enp0s3 - the name of the network interface (can be found with the ifconfig command);
dhcp4 - automatic assignment of an IPv4 address using the DHCP service (for IPv6, specify dhcp6);
addresses - the IP address and netmask assigned to the computer;
gateway4 - the default gateway;
nameservers - a list of DNS servers.
You can view the settings from the host machine on Windows using the ipconfig /all command.
To apply the changes and restart the network, enter the command:
sudo netplan apply
Connecting via SSH
Launch the command prompt with the key combination Win + R. In the window that opens, type cmd. Press OK.
In the window that opens, enter the command:
ssh student@10.40.0.224
Enter the user's password. That's it. You are magnificent (2)!
Conclusion
Despite the protocol's high level of security, using the standard port significantly increases the risk of a server breach. For example, this can be done using a brute-force (brute-force attack). Port 22 is open, so an attacker only needs to guess the server's login and password. This is difficult, but possible. To maximally restrict server access for attackers (configure a firewall, iptables), you can change the SSH ports.
Resources I used
How to enable SSH on Ubuntu 20.04 (Routerus):https://routerus.com/how-to-enable-ssh-on-ubuntu-20-04/
SSH in brief / Habr: https://habr.com/ru/sandbox/166705/
What is SSH (blog REG.RU): https://help.reg.ru/support/hosting/dostupy-i-podklyucheniye-panel-upravleniya-ftp-ssh/chto-takoye-ssh
