I pretty often meet the question: how to attach an Encase image (.e01) to the virtual machine as a primary bootable disk? Sometimes a digital forensics experts need to boot up the image of the researching machine. It's not so hard actually, but this task has it's hidden stones which ones must be counted.
For this case I'll use a VMware Workstation for Windows and VirtualBox for Linux as a virtualization platforms.
Windows Part
1. Open FTK Imager and mount the .e01 image as a physical (only) device in Writable mode

2. Notice a resulting device name. In this case it's a PhysicalDrive3
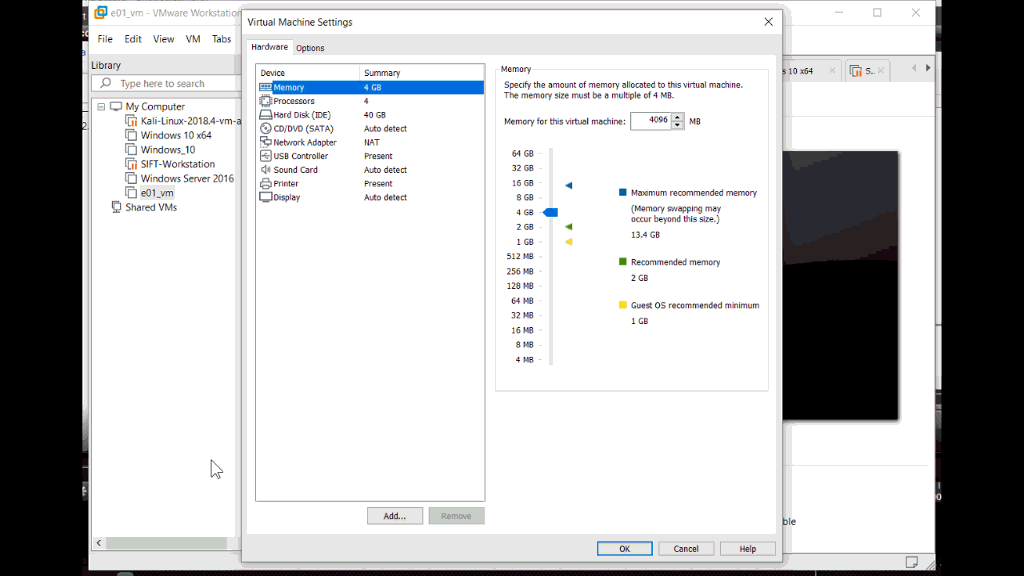
3. Open VMware Workstation and create a new VM, but don't create a virtual disk (or remove one if exist). You have to choose Use a Physical Disk in New VM wizard or add a new virtual disk as primary to the existing VM. You remember that our .e01 image is PhysicalDrive3 now
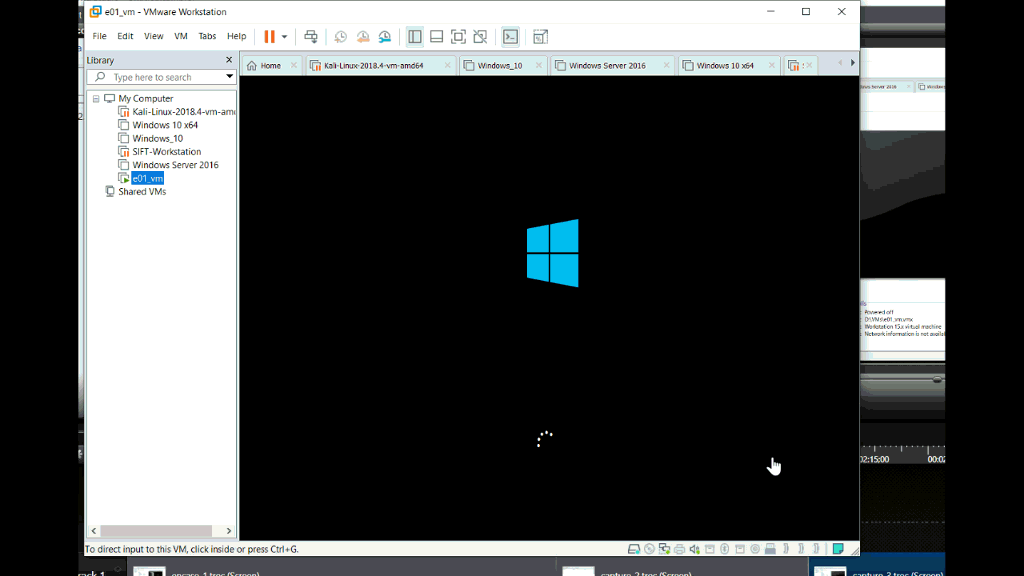
4. So, you just need to start a VM and watching some IT magic
Linux Part
1. The mostly typical tool using to attach .e01 images is ewfmount.py script. But there is a one hard limitation — this image being attached in Read-only mode. It's inappropriate for virtual machine. Therefore we'll use xmount command like:
The main features of xmount for us — it mounts the image in Read-Write mode and it can take a lot of image types on input. You can check for xmount syntax here.

2. Ok, now we have a .vdi image in /mnt/windows_mount
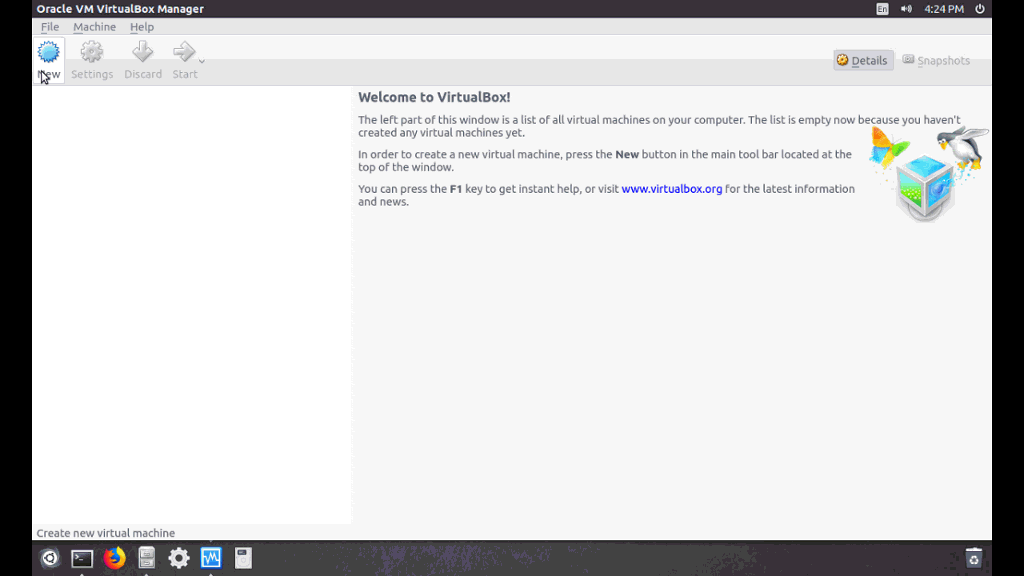
3. Let's open a VirtualBox and create a new VM with our .vdi image (choose existing disk) as a primary disk
4. Finally just boot up the VM and enjoy!

For this case I'll use a VMware Workstation for Windows and VirtualBox for Linux as a virtualization platforms.
Windows Part
1. Open FTK Imager and mount the .e01 image as a physical (only) device in Writable mode
2. Notice a resulting device name. In this case it's a PhysicalDrive3
3. Open VMware Workstation and create a new VM, but don't create a virtual disk (or remove one if exist). You have to choose Use a Physical Disk in New VM wizard or add a new virtual disk as primary to the existing VM. You remember that our .e01 image is PhysicalDrive3 now
4. So, you just need to start a VM and watching some IT magic
Linux Part
1. The mostly typical tool using to attach .e01 images is ewfmount.py script. But there is a one hard limitation — this image being attached in Read-only mode. It's inappropriate for virtual machine. Therefore we'll use xmount command like:
sudo xmount --in ewf <path_to_image> --cache <path_to_cache_file> --out vdi <path_to_mount_point>
The main features of xmount for us — it mounts the image in Read-Write mode and it can take a lot of image types on input. You can check for xmount syntax here.
2. Ok, now we have a .vdi image in /mnt/windows_mount
3. Let's open a VirtualBox and create a new VM with our .vdi image (choose existing disk) as a primary disk
4. Finally just boot up the VM and enjoy!
