
Hackathons could be very intimidating and stressful. It is hard to find an idea, create a prototype, prepare the presentation, and finish everything just in a weekend. It is even harder if you are working in a team of people you’ve just met recently and haven’t built a trustful relationship with them yet.
In a hackathon, you have 2 main resources: time and knowledge. The first is very limited (usually you have just 2 days). But knowledge could be vast, we have total control over it and can increase it in advance. So, if we want to be better in hackathons, we should concentrate on acquiring and sharpening our skills. The most efficient way is to practice doing simple projects, from scratch to a working prototype. We can also track how much time we spend on each of them so that we could be confident that a similar prototype in a real hackathon will be implemented on time.
In this article, I provide an example of a project that can be used for sharpening your skills when you are preparing for a hackathon. We will be using the following technologies: ASP.NET, HTML, CSS, Bootstrap, Docker, Heroku, and Git.
Idea
The first thing we need is an idea. Since we are just training, our project doesn’t necessarily need to change the world, so even a mediocre idea is fine as long as it has some practical purpose. If there is a cool modern technology behind such an idea — even better. Of course, we don’t have enough time to implement something really complex on a hackathon, so we should rely on existing solutions as much as possible. How can we do this? Use APIs that are provided by big companies which already spent thousands of hours on research and development. I was really surprised when I found out that a lot of this cool stuff is actually available for other developers for free. We are talking about OCR (optical character recognition), facial recognition, Machine Learning, Speech-to-Text transformation, and many others. And, as we will see further, it is actually pretty easy to apply such technologies in your project. You don’t have to spend hundreds of hours watching tutorials or reading documentation.
Having all this in mind, I chose the first more or less suitable idea — image translator. It takes an image, detects the text, translates it, and returns it to the user. It is simple enough to make sure that we can complete it in 1–2 days and it uses advanced technologies, so it could be easier to “sell” the project to the hackathon judges who usually like fancy words like Machine Learning and Artificial Intelligence in the description of the project.
What is the practical purpose of such an application? Suppose a friend sent you a photo of some document in another language. With the help of an image translator, you will be able to understand the content of such a document.
API
There are a lot of companies that provide different useful API built on top of Machine Learning. The biggest are Microsoft and Google. Both of them provide a free tier for their services which perfectly suits us since our project won’t work on an industrial scale. Since I am a .NET developer, my first thought was using the Computer Vision API provided by Microsoft. Unfortunately, I already had a previous unpleasant experience with Azure. Their billing system is quite opaque and they charged me for services that were supposed to be free. I’ve read Reddit posts of other users who had similar problems, probably there is some kind of a bug in the system. So, this time I decided to follow a different path and choose Google Cloud API. They don’t charge you anything until you explicitly want to upgrade your subscription from free to paid.
The plan is pretty simple — combine two APIs together: Vision API and Translation API. All I had to do is quickly register my account in Google Cloud, create a project, and generate a service key. The service key is just a file with all necessary authentication credentials. You just have to specify the path to this file in the environment variable for your application and Google client libraries will automatically access it when necessary. Google has very readable documentation so it is fairly easy to follow these steps.
Implementation
Once we decided which API we will be using, it is necessary to select a framework for our application that will be the backbone of our application. Since I have a .NET background, I decided to pick the technology that I am already familiar with and which allows creating an application very fast — ASP.NET.
So, I opened Visual Studio, selected a default MVC template, and here we go — a workable application is ready just after few clicks. The template already contains a home page with Bootstrap styles, so the appearance is pretty decent from the start.
We don’t need to have several pages, it is enough to have our input form on the Home page. This form will allow a user to either specify a URL of the image or upload an image from the computer. On submission, the browser will send a request to process the image. On the server-side, we will create an action method TranslateImage which will return a view model with translated text. In this method, we will use Google Cloud client libraries.
Once we installed Google.Cloud.Vision.V1 NuGet package, we can load the image like this:
Image image = Image.FetchFromUri(url);
And then we need to create the ImageAnnotatorClient which will detect the text for us:
private EntityAnnotation GetTextAnnotationFromImage(Image image)
{
		ImageAnnotatorClient client = ImageAnnotatorClient.Create();
    IReadOnlyList<EntityAnnotation> textAnnotations = client.DetectText(image);

    return textAnnotations.First();
}
We can then use the returned EntityAnnotation to extract the text and put it into our view model:
EntityAnnotation annotation = GetTextAnnotationFromImage(image);
model.OriginalText = annotation.Description;
To translate the original text we need to install another Nuget Package — Google.Cloud.Translate.V3. Now we can use TranslationServiceClient:
private string Translate(string input, string langCode)
{
    TranslationServiceClient client = TranslationServiceClient.Create();
		TranslateTextRequest request = new TranslateTextRequest
    {
    		Contents = { input },
        TargetLanguageCode = langCode,
      	Parent = new ProjectName("glossy-calculus-217915").ToString()
    };

    TranslateTextResponse response = client.TranslateText(request);
    Translation translation = response.Translations[0];

    return translation.TranslatedText;
}
“glossy-calculus-217915” is an id of a project in Google Cloud. Ideally, you should put it into a separate configuration file but for simplicity’s sake, I just hardcoded it here.
As we can see the code is pretty straightforward, client libraries do most of the hard work for us.
Deployment
Once we make sure that our application works in our local development environment, it is time to make it available to the world. Not every hosting environment supports .NET projects. The obvious choice would be Azure, but as I mentioned previously I am not a big fan of Azure for pet projects (for commercial ones it is probably a good option though). So I decided to look for other alternatives. Heroku is one of the most popular cloud platforms on the web, but it doesn’t support .NET. Fortunately, it allows deploying applications in Docker containers which basically makes it platform agnostic.
I created an account in Heroku, downloaded and installed Docker and Heroku CLI. Then I built an image of our application and pushed it to the Heroku server with the help of a simple command:
heroku container:push -a image-translator-1 web
And another command will help to publish the container:
heroku container:release -a image-translator-1 web
“image-translator-1" is the name of the application that was added to the Heroku account.
We can now follow the link to our application and we will see that it is published.
Keep in mind that our Google Cloud Client libraries won’t work if we don’t provide the path to the service key to the environment variable GOOGLE_APPLICATION_CREDENTIALS. We can do it in the Dockerfile like this:
ENV GOOGLE_APPLICATION_CREDENTIALS=Secure/glossy-calculus-217915–80187cb5ef21.json
Make sure to add the Secure folder to the .gitignore file so that you don’t expose sensitive info. Otherwise, someone else can download the file from GitHub, take advantage of your account, and maliciously use it on your behalf.
Testing
Now, we are ready to test our application. We can find a random image on the web which contains the text. I used this one:

I copied the image address and put it into the submission form. Some images are specified in the base64 format, so make sure that your address starts with http or https, otherwise you will get an error. After that I selected a French language and submitted the form:

And I’ve got the following result, as expected:
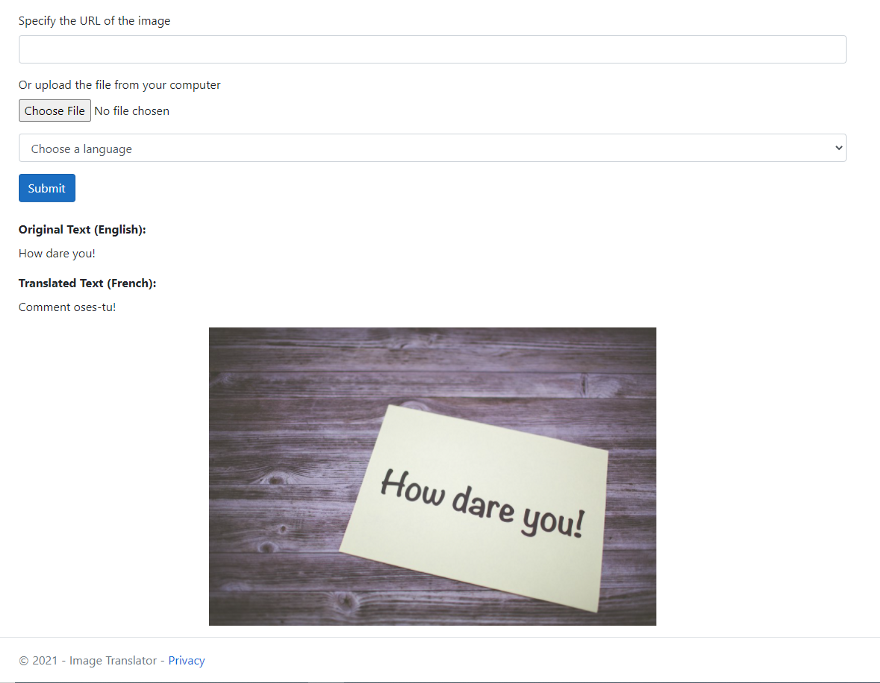
As we can see, the original text was detected and translated correctly.
Final thoughts
In the provided example we practiced creating a hackathon project, learned how to use powerful APIs for our purposes, and deployed our application. If we create a dozen of applications like this, our skills will improve drastically, we won’t have to spend too much time on infrastructural issues and can concentrate more on finding better ideas and improving the design.
Thank you for reading, I hope the provided example was useful and can help you get better in hackathons.
If you want to explore the code further, you can access the GitHub project.
The image-translator application itself is deployed here.
If you want to know more about deploying the .NET app to Heroku via Docker, this blog post is very helpful.
