, Copyright Xdebug Logo (xdebug.org)")
Thanks for your feedbacks
I thank the members of the Habr community for their benevolent attitude to the article by the author «Speed Dating with the CodeIgniter 4 on GitHub» in the form of votes and comments.
The friendly attitude to the author prompted him to continue developing a topic dedicated to PHPUnit as part of CodeIgniter 4.
Install Xdebug on XAMPP (Windows 32-bit (x86))
1. Why Xdebug? In GitHub in file «appstarter/tests/README.md» in the «Requirements» section explicitly states: «You also need to install XDebug to successfully calculate code coverage».
2. Although the Codeigniter4 documentation itself mentions Xdebug once, and then only in passing, in the «Replace var_dump» section, it seems reasonable to follow the technical documentation on GitHub. Therefore, it is advisable to install Xdebug on your local computer in XAMPP.
3. XAMPP with PHP 7.* for Win 32 (x86) was chosen to illustrate the fact that CodeIgniter 4 allows you to solve web development tasks even on computers with minimal configuration.
4. The author of this article was greatly helped in solving this issue by acquaintance with the following articles:
«Installing Xdebug for XAMPP with PHP 7.x», odan, 2021. (I put star on Github. I was 1225th.)
«Installing XDEBUG for XAMPP with PHP in Windows», Ahmed Thaajwer, 2019.
Formulation of the task
Install
Xdebugin
XAMPPon a localWin x86(32-bit)with
PHP 7.*.Install, if required in the process, the file
vc_redist.x86.exeThis article uses Git Bash.
Solution of the task
Step. 1. Testing the presence of Xdebug
Start (restart)
XAMPP.Open
Git Bashin any directory (folder).In the Git Bush
command line, run the command with the optionphp -v
If you have something like this:

, then X is absent.
(Successful testing of the Xdebug is presented at the end of the article in step 5.)
Step 2. Download the dynamic library Xdebug
On the Xdebug website, on the «Downloads» page in the «Latest Release» chapter and in the «Windows binaries» section, select the link for downloading the dynamic library that is actual for you:

To continue working within the framework of this article, the Windows binaries are relevant:
PHP 7.3 VC15 TS (32 bit) .
Step 3. Move the downloaded file of *.dll to pathBeforeYourXAMPP\xampp\php\ext\
The downloaded file in our case is php_xdebug-2.9.7-7.3-vc15.dll
move (copy) to the directory pathBeforeYourXAMPP\xampp\php\ext\ .

Step 4. Editing the php.ini file
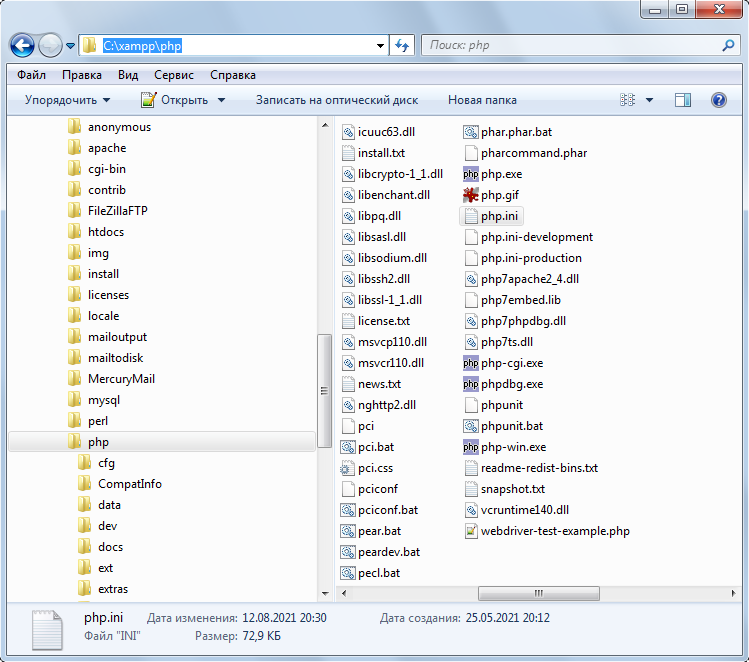
Open in your favorite editor the file
pathBeforeYourXAMPP\xampp\php\php.ini
Find and Disable Output Buffering
output_buffering = Off

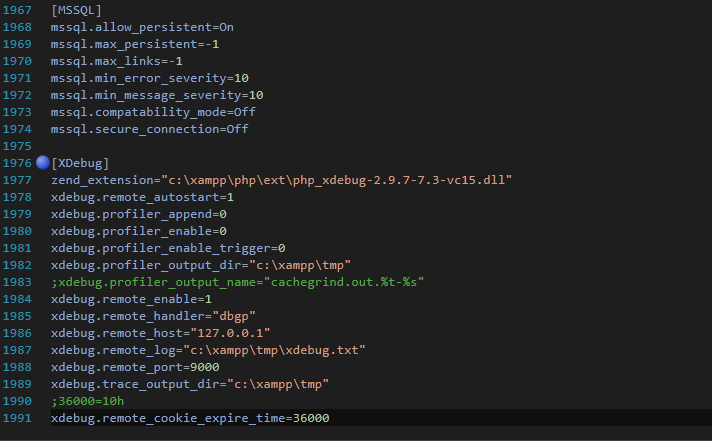
Scroll down to the «XDebug» section (or create one) and copy / paste the lines below:
[XDebug]
zend_extension="c:\xampp\php\ext\php_xdebug-2.9.7-7.3-vc15.dll"
xdebug.remote_autostart=1 xdebug.profiler_append=0
xdebug.profiler_enable=0 xdebug.profiler_enable_trigger=0
xdebug.profiler_output_dir="c:\xampp\tmp"
;xdebug.profiler_output_name="cachegrind.out.%t-%s"
xdebug.remote_enable=1 xdebug.remote_handler="dbgp"
xdebug.remote_host="127.0.0.1"
xdebug.remote_log="c:\xampp\tmp\xdebug.txt" xdebug.remote_port=9000
xdebug.trace_output_dir="c:\xampp\tmp"
;36000=10h
xdebug.remote_cookie_expire_time=36000
We get something like this:
Step 5. Testing the presence of Xdebug
Start (restart)
XAMPP.Open
Git Bashin any directory (folder).In the Git Bush
command line, run the command with the optionphp -v
If you have something like this:

with Xdebug v2.9.7 ,
then it all worked.
P.S.
Sometimes, if you get an error, check your file php.ini .
It is possible that there is additional «zend_extension» code in the file
zend_extension=... ,
then it needs to be commented out «;» ;zend_extension=... .
I would be glad if this post turns out to be useful to someone (and sorry for my English).
