The best of learning something is by implementing it especially when you are a beginner. In this post, I am sharing how I made a simple mouse clicking game using HTML5 and JS. It will help you understand the basic concepts of Javascript such as event handling and counters.
Before I start anything, let me be very clear about the fact that this post has almost nothing for the people who already know the basics of Javascript. I am writing this out just from the beginner’s point of view.
So let's get started!
In a really simple sense, we are going to make a game which counts the number of clicks you do in a set time interval and calculates your clicking speed. We will show the clicking speed and total clicks at the end of the game.
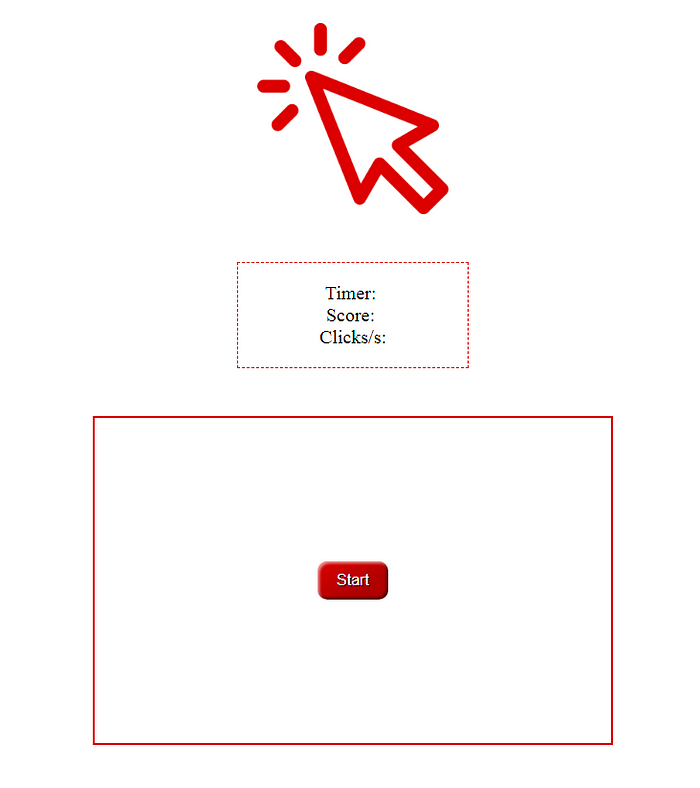
The UI will be absolutely basic. There are no shimmering graphics; its just one button and the counters.
Here's the first look.
As mentioned, we need to count the number of clicks made by the user. So, we will add an Event Listener using Javascript to check if the mouse button is clicked inside the button area.
And, to save the count, we will use a counter whose value increases on every mouse click event. There will be another counter for time. The default time period will be 10s.
The final score will be calculated using the total number of clicks divided by the time and we will display it at the end of the game.
Before we move the actual code, I want to give a small acknowledgement to a tool called Click Test which inspired this simple game I made for learning purpose.
Let us begin by creating a simple page with a headline, a box for counters and a button inside it for clicking. I have used the basic red color for everything but you are free to show your CSS skills and make it fancier.
Next, we need to implement the counter for clicks on the button. A simple JS snippet provided does the magic for this.
This code binds the event listener on click and adds +1 to the score on every click.
Next counter we need is the timer. For that, we will use a countdown inside the startGame function.
The above function sets a 10 second countdown timer on the start of the game. And, as soon as the countdown is over, it calls the function called endGame().
With these two things, we have our click counter and timer running simultaneously in sync with each other.
Now, inside the endGame() function, we will show the score and total number of clicks. Here’s the code for the same.
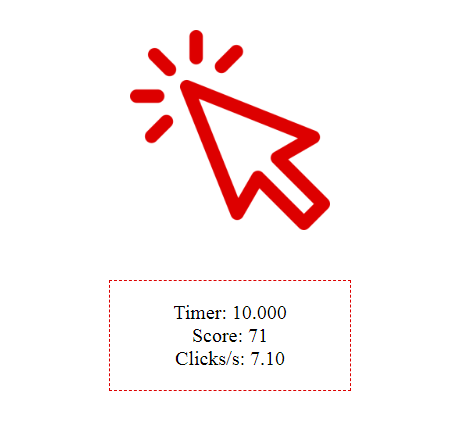
This function calculates the clicks per second and displays it to the user on the end screen. Here's how it looks.
Thats All!
You have just created your very first simple HTML5 and JS game. Congrats!
During the 14 hours that I spend building this game from scratch, I found it really worth doing it as a first timer.
In fact, while building it I could see more new ideas that can be integrated in this game using Javascript only.
As you know we made a default 10 second timer. We can also create a radio button selector for use to select the time period and dynamically set the timer accordingly.
Another fascinating thing to do would be to save the top 5 scores and display them as a leaderboard that will be updated live. For this you need to learn a little about database integration as well.
Also, the game is a little boring without any sound effects. We can add simple click sounds and background music using base64 audio files inside the Javascript itself.
Well, if I get more time to add all these things in the next iteration of this game, I will surely share all the details in another post. So, stick around and keep learning.
Before I start anything, let me be very clear about the fact that this post has almost nothing for the people who already know the basics of Javascript. I am writing this out just from the beginner’s point of view.
So let's get started!
The Aim
In a really simple sense, we are going to make a game which counts the number of clicks you do in a set time interval and calculates your clicking speed. We will show the clicking speed and total clicks at the end of the game.
The UI will be absolutely basic. There are no shimmering graphics; its just one button and the counters.
Here's the first look.
The Logic
As mentioned, we need to count the number of clicks made by the user. So, we will add an Event Listener using Javascript to check if the mouse button is clicked inside the button area.
And, to save the count, we will use a counter whose value increases on every mouse click event. There will be another counter for time. The default time period will be 10s.
The final score will be calculated using the total number of clicks divided by the time and we will display it at the end of the game.
Before we move the actual code, I want to give a small acknowledgement to a tool called Click Test which inspired this simple game I made for learning purpose.
Creating the Interface
Let us begin by creating a simple page with a headline, a box for counters and a button inside it for clicking. I have used the basic red color for everything but you are free to show your CSS skills and make it fancier.
Next, we need to implement the counter for clicks on the button. A simple JS snippet provided does the magic for this.
clickArea.addEventListener("click", function(e) {
    if (!ended) {
      score++;
      scoreTxt.textContent = score;
    }
  });
This code binds the event listener on click and adds +1 to the score on every click.
Next counter we need is the timer. For that, we will use a countdown inside the startGame function.
function startGame() {
      hide(startBtn);
      score = -1;
      ended = false;
      // we get start time
      startTime = new Date().getTime();
      // we create a timer with the setInterval method
      var timerId = setInterval(function() {
        var total = (new Date().getTime() - startTime) / 1000;
        // while total lower than duration, we update timer and the clicks by seconds
        if (total < duration) {
          timerTxt.textContent = total.toFixed(3);
          clicksTxt.textContent = (score / total).toFixed(2);
        } else {
          // otherwise, game is ended, we clear interval and we set game as ended
          ended = true;
          clearInterval(timerId);
          // we call the end game method
          endGame();
        }
      }, 1);
  }
The above function sets a 10 second countdown timer on the start of the game. And, as soon as the countdown is over, it calls the function called endGame().
With these two things, we have our click counter and timer running simultaneously in sync with each other.
Now, inside the endGame() function, we will show the score and total number of clicks. Here’s the code for the same.
function endGame() {
    // we write final stats
    var clicsBySeconds = (score / duration).toFixed(2);
    timerTxt.textContent = duration.toFixed(3);
    clicksTxt.textContent = clicsBySeconds;
    // we show start button to play an other game
    show(startBtn);
    // we display result to the user in delayed mode
    //to update DOM elements just before the alert
    setTimeout(function() {
      alert('You made ' + score + ' clicks in ' + duration +
      ' seconds. It is ' + clicsBySeconds +
      ' clicks by seconds. Try again!');
    }, 10);
  }
This function calculates the clicks per second and displays it to the user on the end screen. Here's how it looks.
Thats All!
You have just created your very first simple HTML5 and JS game. Congrats!
My Experience While Making this Game
During the 14 hours that I spend building this game from scratch, I found it really worth doing it as a first timer.
In fact, while building it I could see more new ideas that can be integrated in this game using Javascript only.
As you know we made a default 10 second timer. We can also create a radio button selector for use to select the time period and dynamically set the timer accordingly.
Another fascinating thing to do would be to save the top 5 scores and display them as a leaderboard that will be updated live. For this you need to learn a little about database integration as well.
Also, the game is a little boring without any sound effects. We can add simple click sounds and background music using base64 audio files inside the Javascript itself.
Well, if I get more time to add all these things in the next iteration of this game, I will surely share all the details in another post. So, stick around and keep learning.